• When you click on links to various merchants on this site and make a purchase, this can result in this site earning a commission. Affiliate programs and affiliations include, but are not limited to, the eBay Partner Network.

Repro Irvin project - test jacket photo update!

jonnyboy

Member
Hi guys,

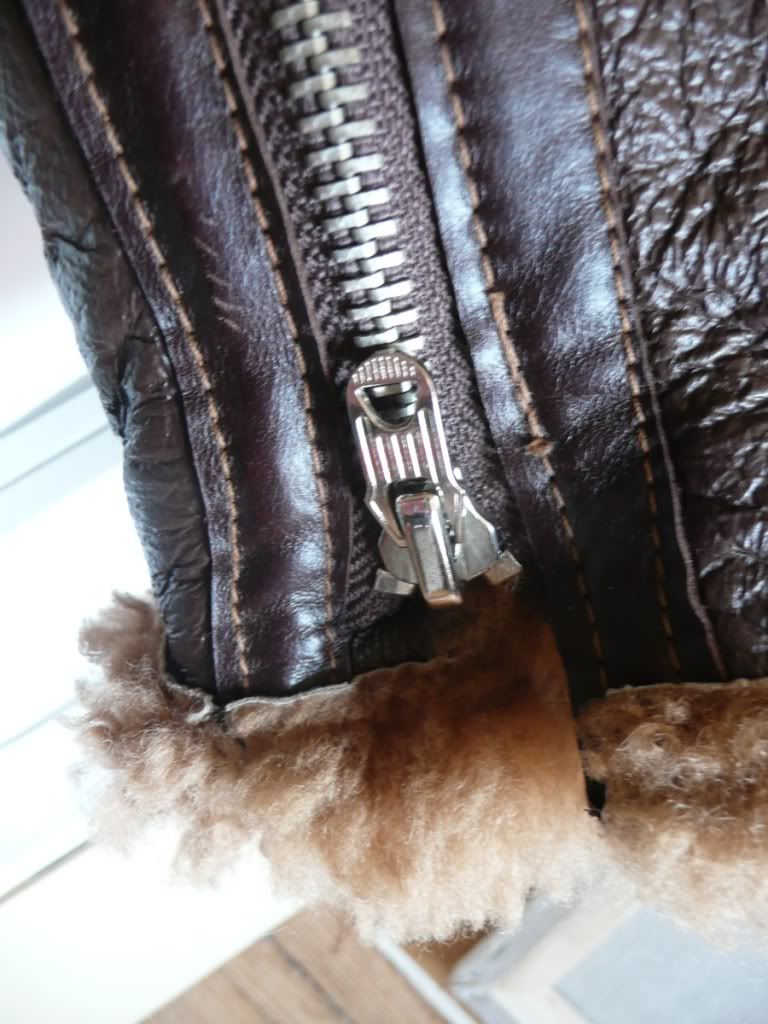
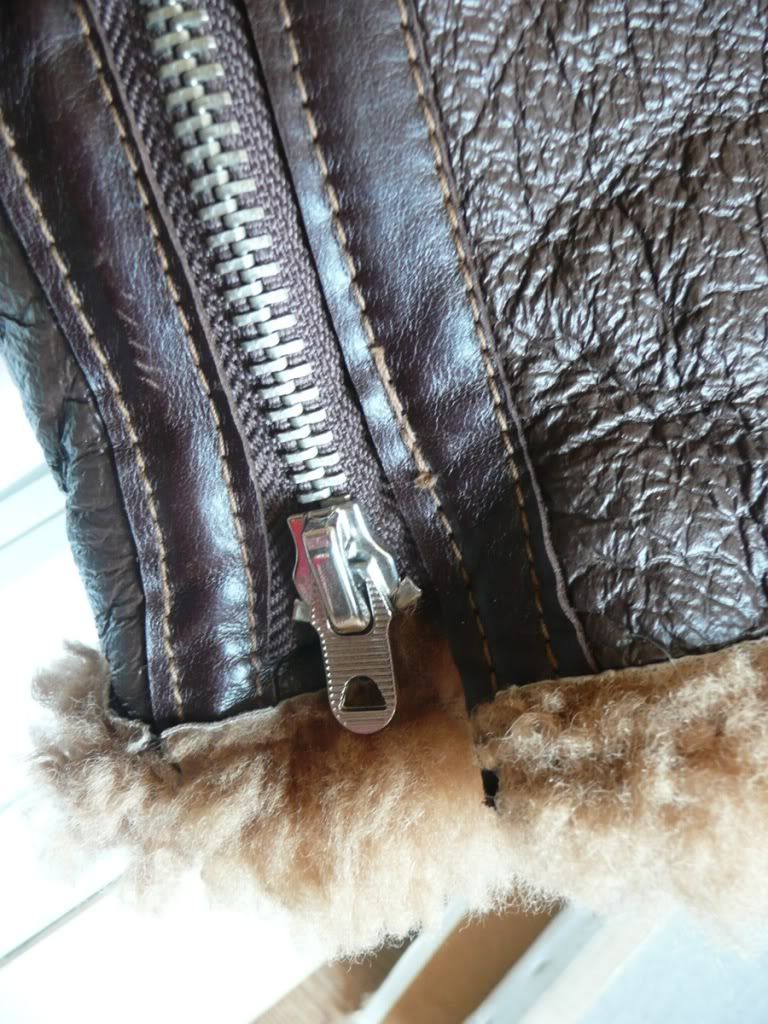
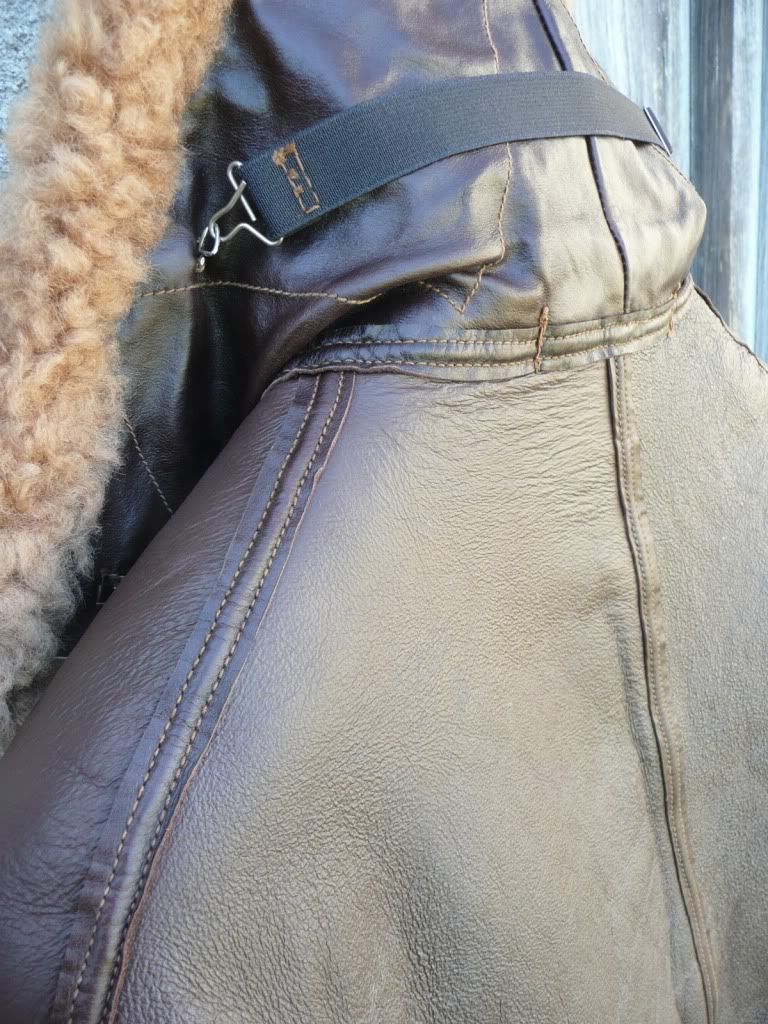
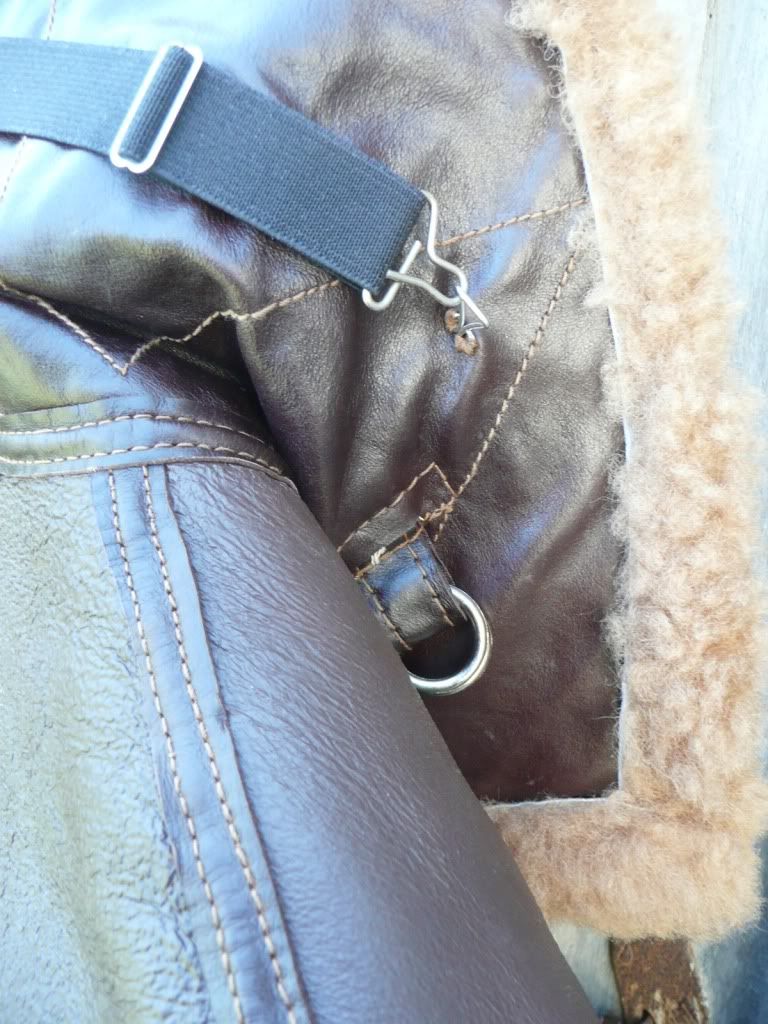
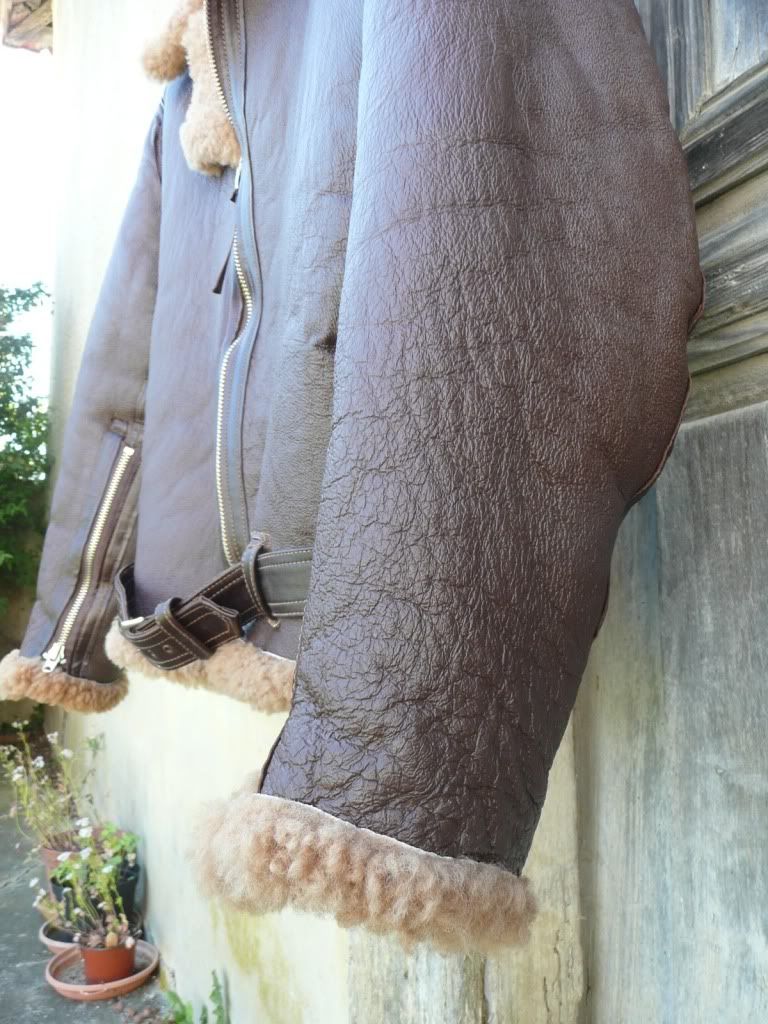
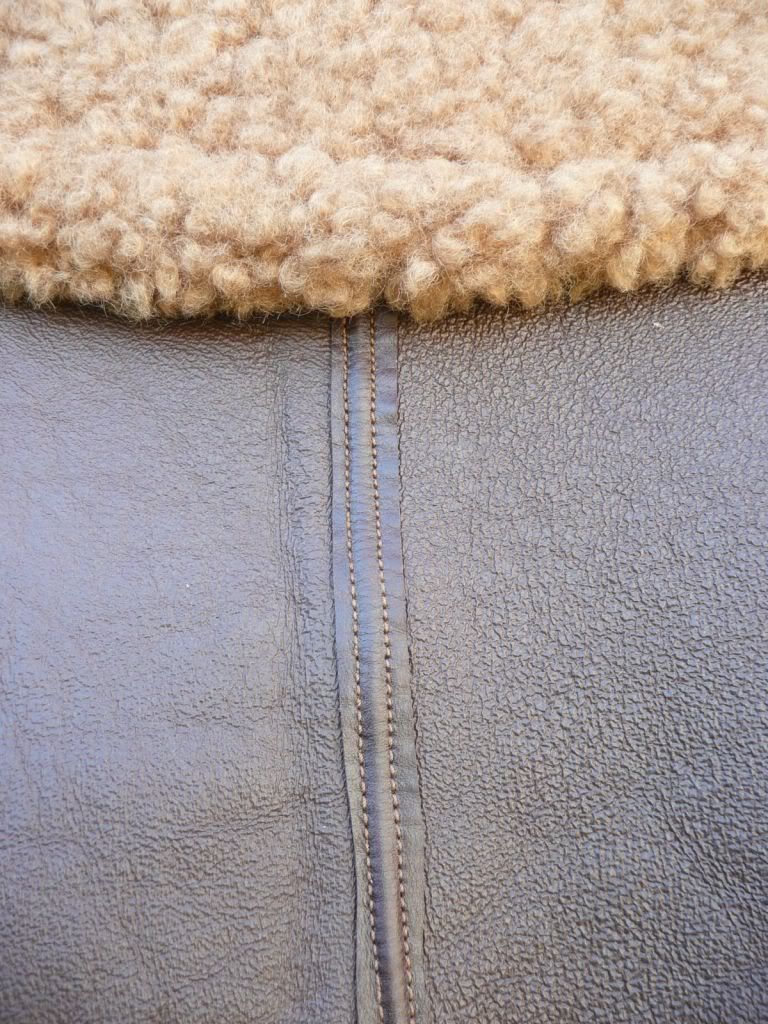
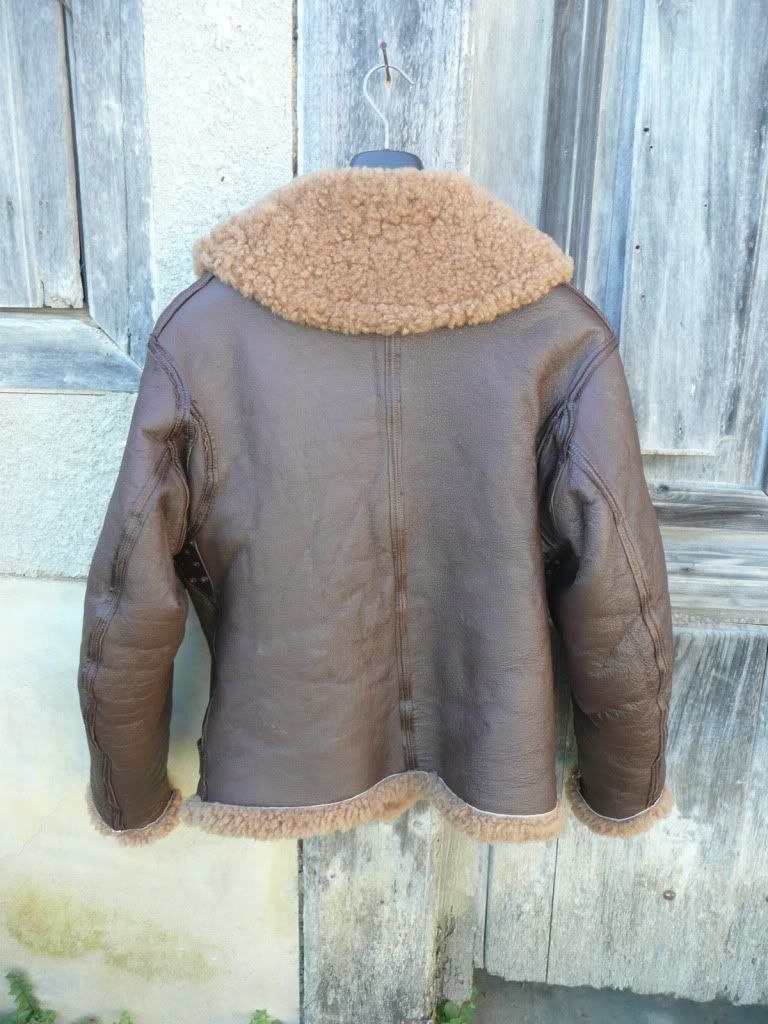
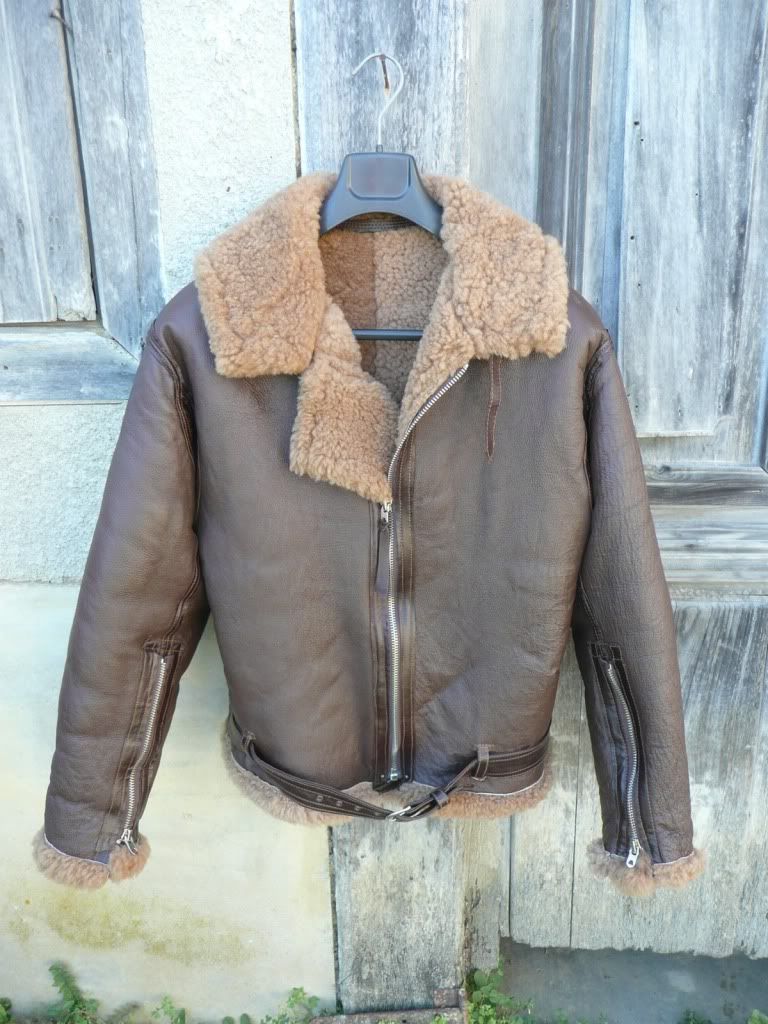
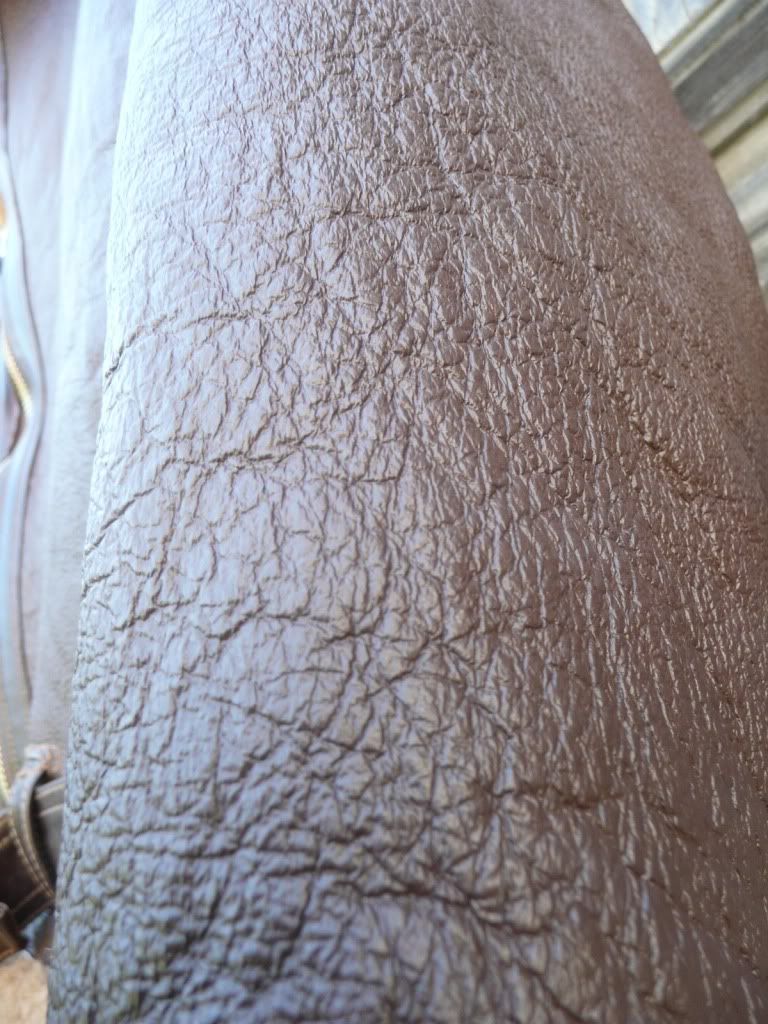
Thought I'd post some photos of the first test jacket, after a bit of wear and weathering (torrential rain, followed by drying in the hot sun!). Lots of character has developed in the sheepskin, and it's not looking quite so new anymore.

Sorry if the page takes ages to load - there are a lot of pics!

Cheers,

Jon

Irvin1.jpg


Irvin2.jpg


Irvin3.jpg


Irvin4.jpg


Irvin5.jpg


Irvin6.jpg


Irvin7.jpg


Irvin8.jpg


Irvin9.jpg


Irvin10.jpg
 

jonnyboy

Member
John - no, I haven't washed it as such. It spent a week hung up in the garden. It rained heavily for the whole week, so it got thoroughly soaked right through. Then the sun came out, and it stayed outside until it had dried!

Seems to have done the job, but I'm sure a quick wash and a cycle in the dryer would have achieved the same results (and in less time)!

Cheers,

Jon
 

Roughwear

Well-Known Member
You have done an amazing job Jon. It is a great repro of which you should be very proud. I wait for more Irvins with anticipation. I'm sure there will be chaps here keen to own one! ;)
 

Jason

Active Member
Whoa! Looks amazing, you should be very proud of your efforts.

Just one point, and I'm not sure if its even a valid one: does the collar look too big / tall to anyone else? Perhaps I'm just used to my Irvin pattern that has a shorter collar? Don't let my ramblings take anything away from what you've done though, absolutely amazing job!
 

Andrew

Well-Known Member
I love the look of the wool Jon, very vintage and I like the idea of leaving it outside in the elements. I have considered that with my A-2's as well and i've just put my ELC B-2 cap out in the rain. I'll see how that looks after a few days of sun.

I'm sure you appreciate comments such as Jasons as it'll only make the next ones better. It may well be the photos as i'm sure you've exactly matched your original but it does appear to look quite tall/ wide in comparison to the rest of the jacket.

Just measured my 4, the '41 Wareings has the largest at 6.5" from edge of collar tape to edge of fleece turnback (ie the exposed leather backing), 6" on two others, one 1944 (probably Wareings) and the other pre-War (probably IAC), and the last 5.5" on another pre-War.

One other thing and I hope you don't mind, you mentioned you were experimenting with the tapes, and i'm sure you already know this but I think they'd be mproved by being narrower as all mine measure half an inch. There is a bit of extra outside the stitching (particularly along the zippers) but I presume that's just allowing a margin of error at this point.

Looking good.
 

jonnyboy

Member
Hi guys,

Thanks for all the comments and feedback - much appreciated.

The seam tapes are a little wide - I made them a bit more generous for the test jacket to allow for error (of which there was lots!). The ones on jacket number two are narrower.

I think it could be the photos which make the collar look a bit tall. I've measured it from the seam tape to where the fold over is, and it's 6.1" - the same dimensions as the original jacket which I took apart to make the pattern. However, I also measured another original, and that was 5.5" - I should think that there's a bit of variety with originals. At this stage, I'm trying to make an exact copy of the actual jacket I took apart. As I get better at pattern making, and sewing, I hope to be able to offer more custom tailoring (shorter collars, rounded collars, different seam tape configurations, no belt - I think some early prototypes didn't have belts, and the ever popular yellow hood, for attracting attention when in the sea!).

I wore the test jacket as much as possible after I made it, as the weather was much cooler then. I've thrown it about a bit, in an effort to break it in to see how all the materials hold up (so far so good!). It's far too hot now to wear the jacket during the day. I did wear it last night though when I did a spot of star gazing!

Cheers,

Jon
 

John Lever

Moderator
The yellow hood would be a first repro like that I think. On the seam tape issue, I think Eastman use a double needle machine for this technique.
Re the collar size, most early flying gear had very big collars, the B-1 and B-2 being examples.
 

Roughwear

Well-Known Member
John Lever said:
The yellow hood would be a first repro like that I think. On the seam tape issue, I think Eastman use a double needle machine for this technique.
Re the collar size, most early flying gear had very big collars, the B-1 and B-2 being examples.

I think a repro CC jacket would be most interesting. I understand original Irvins were not constructed using a a double needle machine.
 

jonnyboy

Member
Thanks guys,

Dan - here's a photo of the buckle, and a couple of shots of a zip slider to show both sides.

The buckle is cast from an original and is nickel coated brass.

The zips are based on a wartime Lightning zip. They turned out pretty well, but I'd want to improve on them further down the line.

Cheers,

Jon

P1030525.jpg


P1030505.jpg


P1030504.jpg
 
Top