
fishmeok
Well-Known Member
Thought some of you might find this interesting. I took some pics of the last practice piece as I made it. This is the bottom right corner, with the waistband and a shirt piece to represent the zipper.
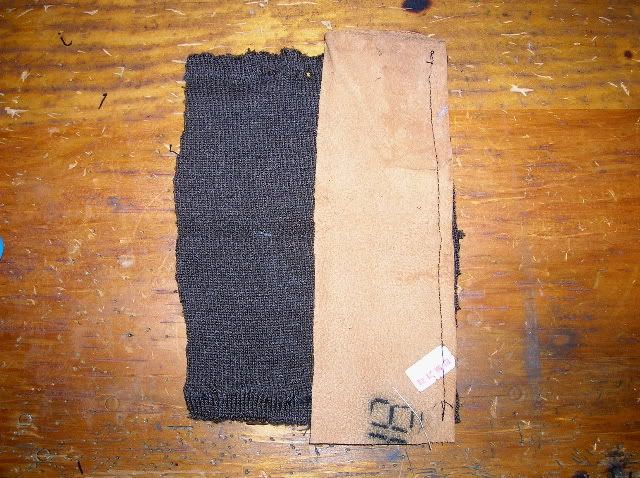
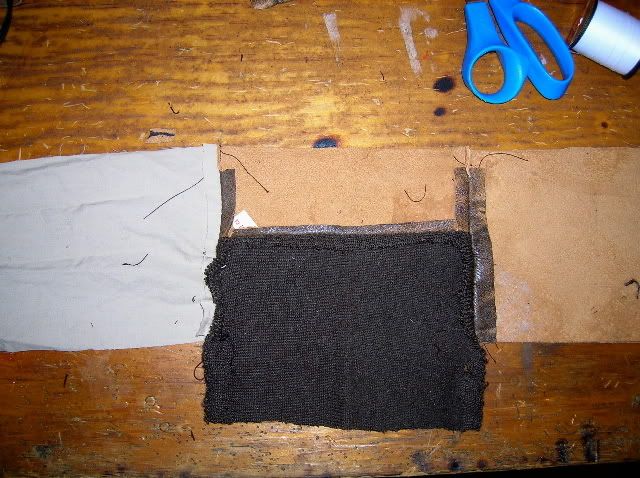
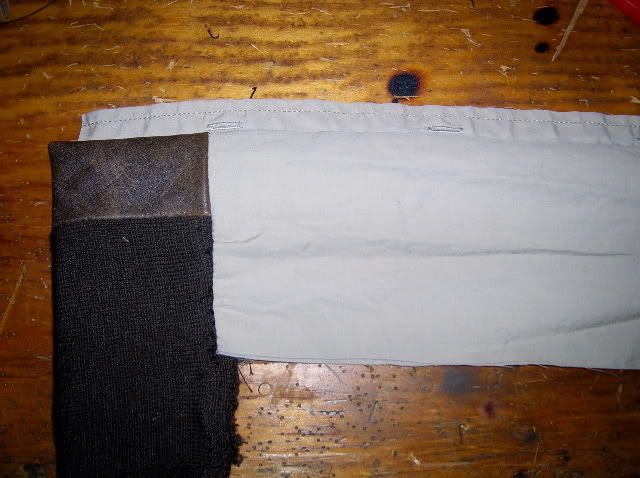
First pic: The bottom of the right (non-windflap) side of the jacket is five pieces, the bottom leather piece, knit, liner, front panel, and zipper. This is the first step, sewing the knit to the bottom piece. Note that everything is constructed inside out, which is difficult to visualize until you do it several times. The knit is sewn onto the right side of the leather, with the wrong side up, and the presser foot set as light as it will go to prevent the knit riding up:
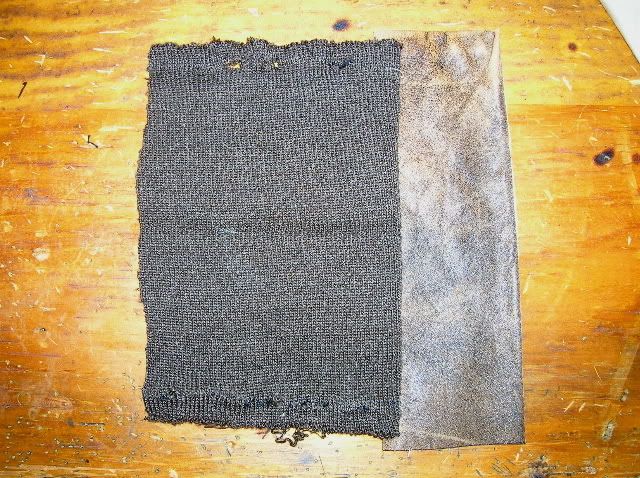
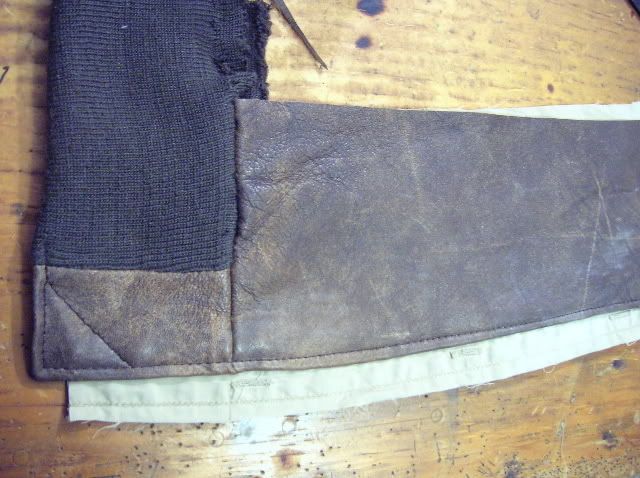
This is what it looks like turned right side-out:
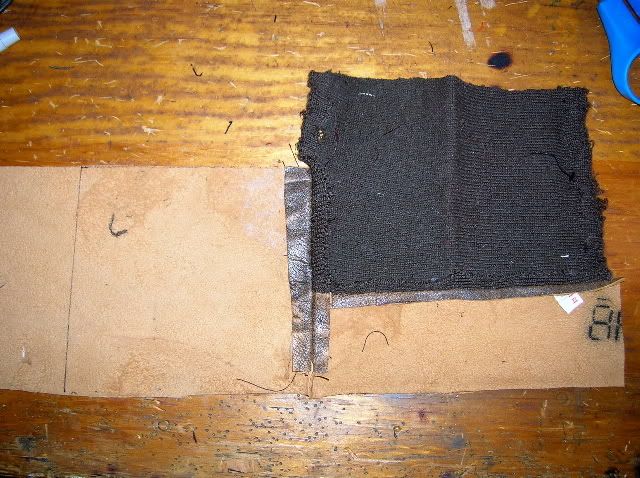
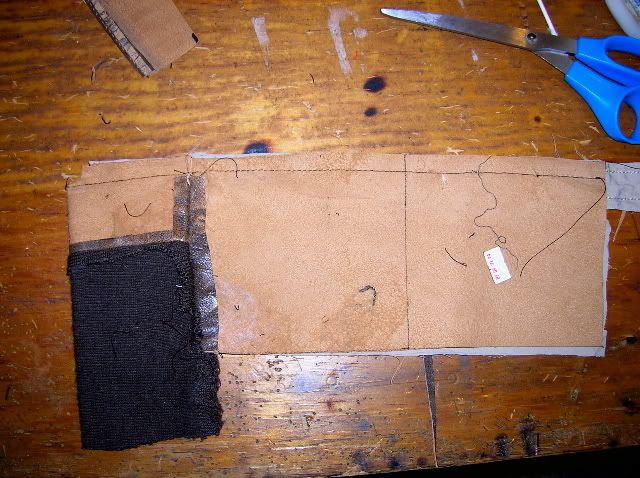
Then the body to the bottom piece- again sewn right side to right side:

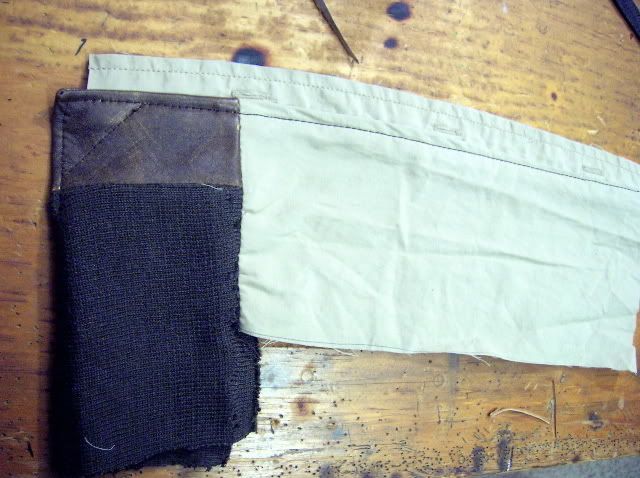
Unfolded:
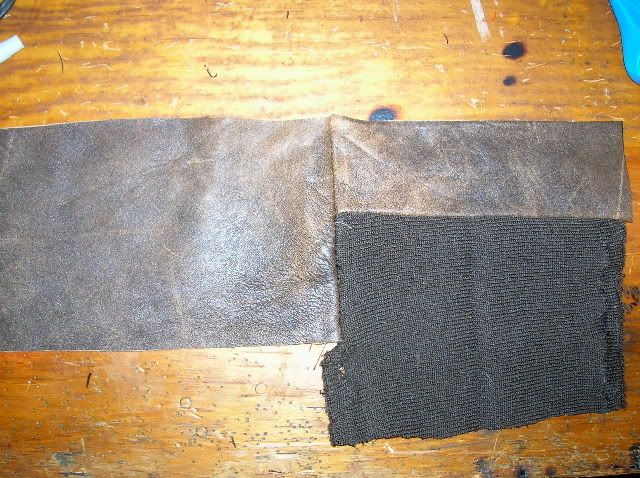
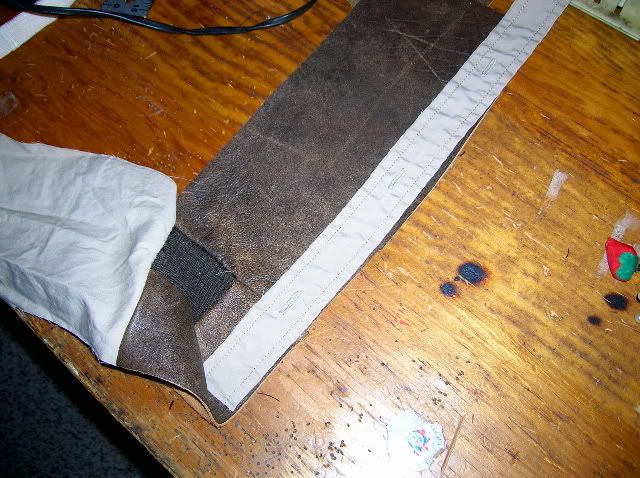
The liner is sewn on to the bottom piece in the same way- here shown wrong side up after completion. All the inside seam allowances are laid flat back against themselves, and I use a dab of glue to hold them in place. Note also the material removed from the seam allowance on top where the pieces join up. This area will fold back over itself, and if I don't trim them out it would be too bulky for my machine to handle.
Next I fold the material face to face and place my fake zipper in- again since this is going to be turned rightside out the zipper has to be positioned so that the INNER edge is flush with the OUTER edge in the picture, or otherwise positioned as far as you want the zipper to stick out.
The inner seam is sewn with the piece inside out, one stitch line from top to bottom. This is where the material pivots rightside out.
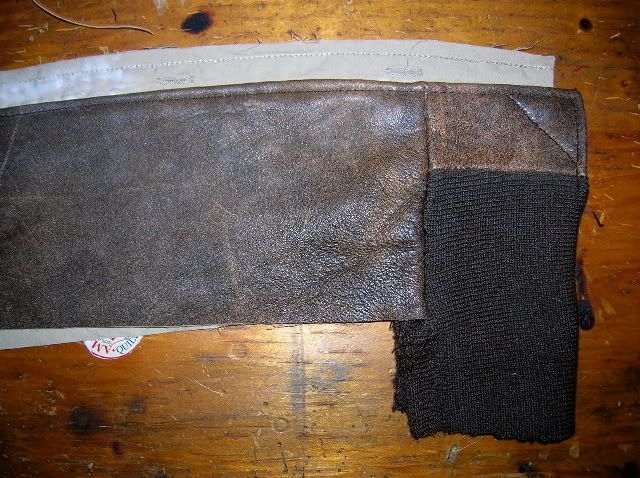
And turned rightside out:
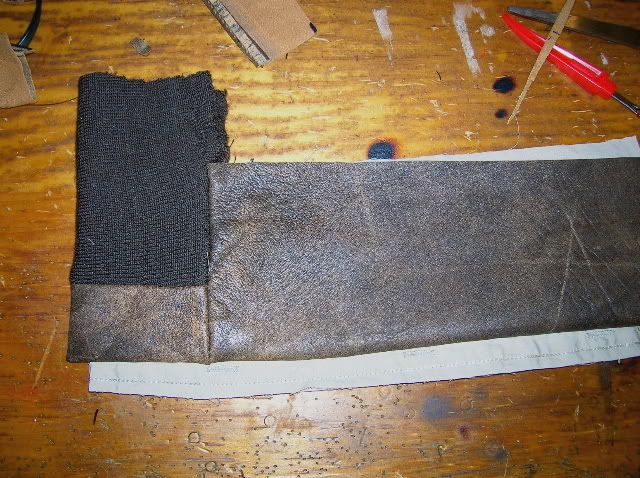
Last the top stitching. I sewed this with the leather side up- notice how it rolled under down by where all the pieces match up. Part of that is the light crappy leather I'm using, but most of it is a pure lack of skill. It's very difficult to keep the leather folded tight against the inside seam:
Cheers
Mark
First pic: The bottom of the right (non-windflap) side of the jacket is five pieces, the bottom leather piece, knit, liner, front panel, and zipper. This is the first step, sewing the knit to the bottom piece. Note that everything is constructed inside out, which is difficult to visualize until you do it several times. The knit is sewn onto the right side of the leather, with the wrong side up, and the presser foot set as light as it will go to prevent the knit riding up:
This is what it looks like turned right side-out:
Then the body to the bottom piece- again sewn right side to right side:
Unfolded:
The liner is sewn on to the bottom piece in the same way- here shown wrong side up after completion. All the inside seam allowances are laid flat back against themselves, and I use a dab of glue to hold them in place. Note also the material removed from the seam allowance on top where the pieces join up. This area will fold back over itself, and if I don't trim them out it would be too bulky for my machine to handle.
Next I fold the material face to face and place my fake zipper in- again since this is going to be turned rightside out the zipper has to be positioned so that the INNER edge is flush with the OUTER edge in the picture, or otherwise positioned as far as you want the zipper to stick out.
The inner seam is sewn with the piece inside out, one stitch line from top to bottom. This is where the material pivots rightside out.
And turned rightside out:
Last the top stitching. I sewed this with the leather side up- notice how it rolled under down by where all the pieces match up. Part of that is the light crappy leather I'm using, but most of it is a pure lack of skill. It's very difficult to keep the leather folded tight against the inside seam:
Cheers
Mark